

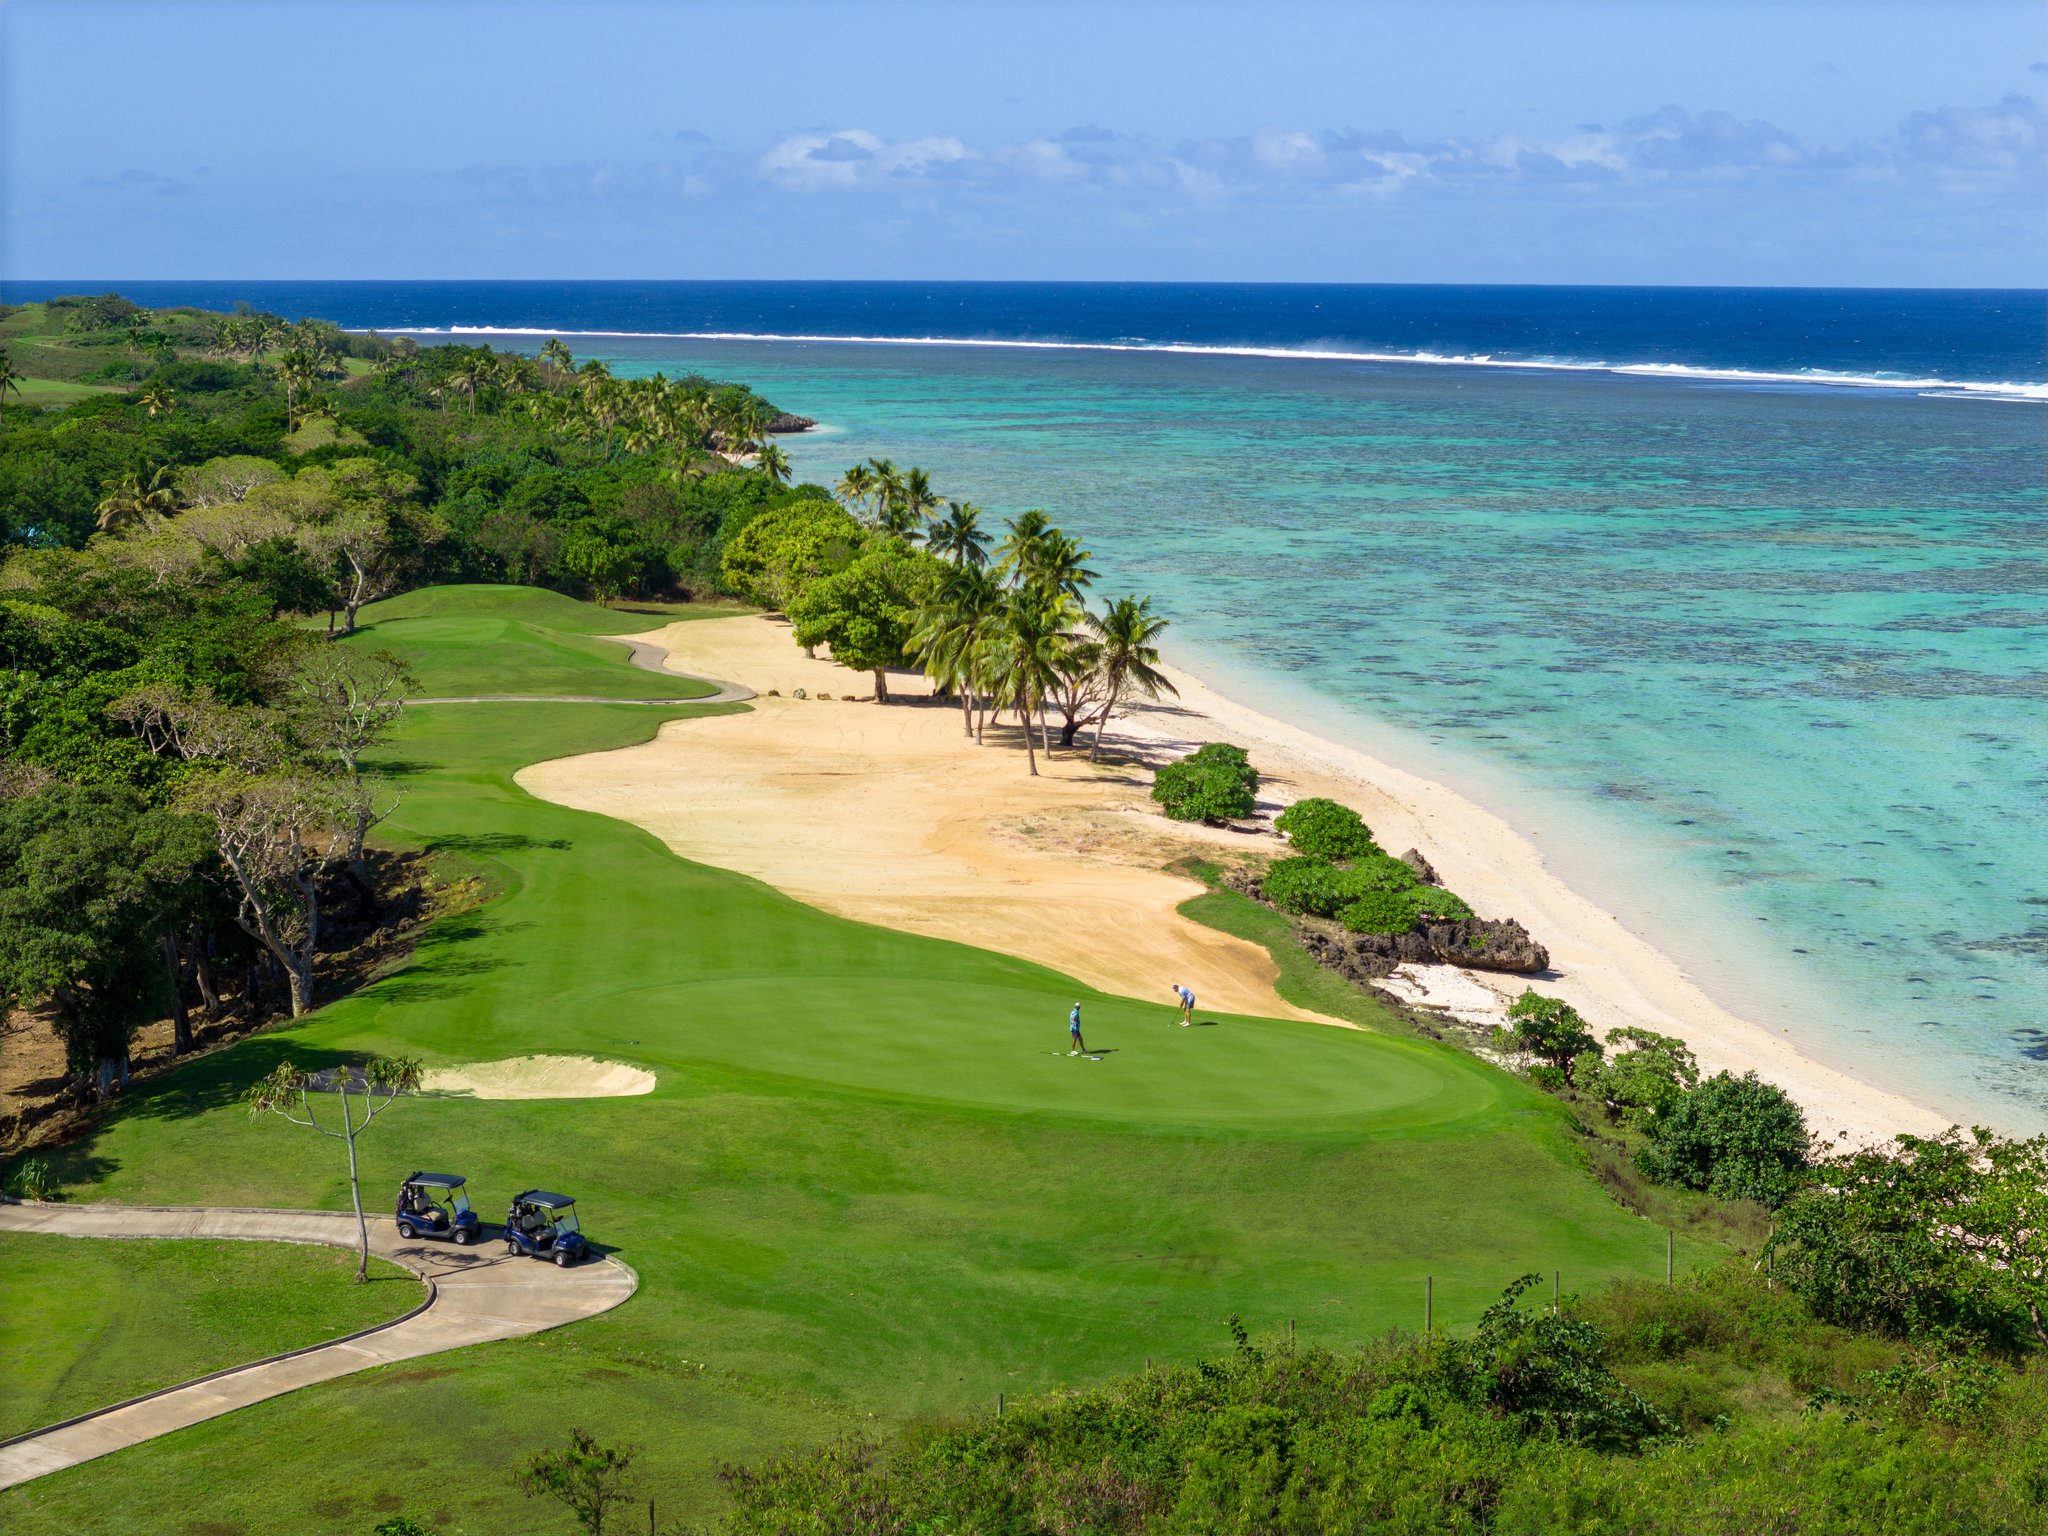
Hole 4 Outward Nine
Par 3
Handicap: 12
Ladies Handicap: 10
The Hole Experience
Hole 4 is the kind of par 3 that stays with you. It is scenic, exposed and full of visual drama, but beneath the beauty is a serious golf hole. The ocean setting can easily pull your attention away from the task, and the breeze can make club selection more difficult than the number on the card suggests.
The local rules note that the exposed rock area from the tee is treated as a waste bunker, while the area from the rock to the green is a normal bunker. That detail matters, because anything short or loose can quickly bring the sand and surrounds into play. The best advice is simple: choose enough club and commit fully.
This is not a hole where you need to chase a heroic pin. Aim for the safest part of the green and accept a longer putt if needed. A player who walks off with par here has done something very tidy. A bogey is not a disaster. The mistake is allowing the view to make the swing tentative.